Showing posts with label reuse. Show all posts

Friday, October 17, 2014

Green Project: Prince Charming Costume

Still recapping the summer here but this costume post comes just in time for Halloween.
Fiona's BFF turned 5 in June and after his Mama blew my mind with some beautiful handmade doll bedding {I'll have to share that soon} for Feefs' birthday I knew I also wanted to get crafty for his gift.
Dress up is big in our house {and occasionally out of the house, like the grocery store, park, walk, etc.} and though Charlie has been a great sport dressing up in some pretty feminine frocks, I wanted to expand his options.
Presenting: Prince {Charl}ing.
DIY Prince Charming Costume
I had in my mind something similar to Prince William's wedding wear.
I considered starting from scratch but that's not really my style.
I decided instead to source out an outfit I could repurpose.
A trip to Value Village delivered this lovely ensemble for the bargain price of $6.98.
 Another $12 spent on the trimmings at Fabricland and I was all set.
 I started by turning the blazer inside out and ripping the side, shoulder and sleeve seams.
I used a jacket that I knew would fit Charlie and measured the width from collar to shoulder seam then marked that with a pin {remember to add 1.5cm for a seam allowance to each marking} on the blazer.
I then marked the midline and measuring the width of the torso on my model jacket to mark the side seam.
After cutting off all the extra by following the above pins on one side...
...I just folded the jacket in half on the midline that was already marked above and cut the second side to match.
To finish the torso I just sewed the side seams back together.
Now it was time to fit the sleeves.
Again, I grabbed the model jacket and measured the width of the sleeve at the top and bottom and pinned {with seam allowance} as well as the length.
After sewing the length of the sleeve and turning it right side out I fit it into the arm hole {you may have to work on this for a few minutes} and sew this seam.
A simple hem on the ends of the sleeves finishes them off.
I left the length as is since I wanted it a little long for the look but also so it would fit for a while.
I also left some extra length on the sleeves for the same reason.
The collar was an easy fix since lifting it up then folding it in on itself once made it quite princely.
I pinned some gold trim around the neck line before sewing the collar down to finish it off.
I started on the side with the buttons so that I could continue all the way down the front just inside the button holes.
After this I also replaced the buttons with some flashy gold ones.
The last detail on the jacket was to create some epaulettes. 
Some simple fringe folded in half and sewn down the middle did the trick.
Before I fastened one shoulder's epaulette I wanted to attach a sash, this is where the bright red blouse came in.
I was lucky to find one with a little embellishment but one without could also work.
I cut the button down part from top to bottom, sewed the bottoms together then used the top button to secure the bottom of the sash after putting it on.
I slipped the whole thing under one epaulette then sewed it in place since we all know accessories tend to go missing on kid costumes if they're not attached.
 And what kind of prince would he be without a crown right?
I actually don't know if I've ever seen Prince William sporting a crown but it still felt necessary.
I took a piece of gold lamé measured and cut to the diameter of Charlie's head {with an extra 3cm for seam allowance} then folded it in half and pinned it approximately every 3 inches.
 I used the pins to guide the points of my cut but otherwise just winged it.  
The crown could be made any shape or height here but I liked this simple look best.
Cedric was so excited about the crown {depicted below} that I was glad when my first attempt ended up a little small and could be kept for him.
 To give the crown some standing power I cut some fusible batting the same size as my folded lamé then ironed it on.
I stitched along the top {with the batting facing out}, cut the edge a couple mm from the stitch {an important step otherwise you won't get a nice shape at the top} then turned it right side out.
Once you turn it you need to work the points out which I usually do by hooking a straight pin into the fabric and pulling from the outside.
 To finish it off simply fold the ends of one side in, insert the other end into it and stitch on the outside {see below}.
DIY Prince Charming Costume
 I also bought some black pants and used the extra fabric from the blazer to sew a tuxedo stripe down the side but this is purely optional since plain black pants look just great.
 Now we have a legitimate prince costume to match the many princess dresses.
 Not to say this guy doesn't still rock the feminine garbs from time to time.

Wednesday, March 26, 2014

Unintentional Green Project

I haven't posted about a green project in a while because, well, I haven't done a green project in a while.
My projects have tended towards the de-cluttering type which are not really as much fun to share.
But the other day, in a truly remarkable display of domestic skill, I put a beautiful merino wool sweater in the wash and...wait for it.
The dryer.
I would like to say this was an isolated incident but I did the exact same thing with a beautiful sweater dress about a year ago.
Bottom line: I should not own nice clothes.
I was so disappointed but immediately thought that both items of clothing looked like they would fit Fiona perfectly.
And sure enough...
She rocked both of them.
I didn't even have to ask her to pose, she was all over being my model.
Obviously I am not suggesting this as a fabulous project that you should do with your most precious wool items.
It is but a small consolation for my devastating mistake.
And of course another excuse to post pics of this sweet girl.

Wednesday, December 12, 2012

Green Toddler Outerwear

Sometimes it pains me to pack away Fiona's outgrown clothes.
There are always a couple of outfits or pieces that are so sweet on her I can barely stand to see them go.
This sweater was one of those things for me.
It's really not that special but there was just something about the colour and detail that appealed to me.
So, I decided to give this sweater another life.
It has been reincarnated as Fiona's newest hat and mitts.

Here's how we did it.
This process involved a lot of toddler involvement so the pics took a backseat.
When the toddler doesn't feel like being involved it takes some estimating.
{If you know me well you already know I'm the master of estimating, at least I think I am.}

1. Measure.
Put the end of the sleeve over the toddler hand and see how far up their fingers go.
Cut about an inch above this point {please remove before cutting}.
Turn these pieces inside out, lay their hands on top and mark where their thumb would be.
{I used pins but a fabric pencil or chalk would be safer if you have a fidgeter.}
Yes, those are Halloween tattoos, no we didn't make these at Halloween.
Fiona found them in her sticker box and insisted they would be great.

Cut those pieces into mitten shapes.

Turn the body of the shirt inside out.
Put the hem over their head and see how tall it needs to be to cover their ears.
Once I had 2 hands I actually marked the shape of her head {more or less}.
I also marked how much it would need to be taken in to stay on her head.
{This picture shows the shirt on right side out. I actually did turn it inside out after but this little miss was done posing.}
Always a ham.

2. Sew.
Around the edge of the mittens {keep them inside out}, I tried to only leave a 1/4 inch seam allowance.
For the hat, sew on the markings then cut the seam allowance after.
This way you have some room to play if you need to adjust the shape or size.
I tried Fiona's on a couple of times before I cut the rest off.

I wanted to keep the whole bow from the shirt so that's why it ended up not perfectly shaped.
I was still so happy with the result and she loves them.
"Mommy makes a spesho hats for Fiona."


Monday, November 26, 2012

Green Pillows

I have a clothes bin in the attic that I put my out of season stuff in.
I always like turning over my closet.
Otherwise your sundresses are just hanging there taunting you.
"You wanna wear me but you can't for another 8 months, sucka!"

Well, I feel the same about my home.
In the summer I have bright blankets and throw pillows.
{This year I used the leftover fabric from our wedding favours to make pillow covers.}
Then as soon as I start to take out the Christmas decorations it feels all wrong.
I really wanted to neutralize but still have something interesting.
I knew I needed a nice warm texture in a muted colour, maybe grey?
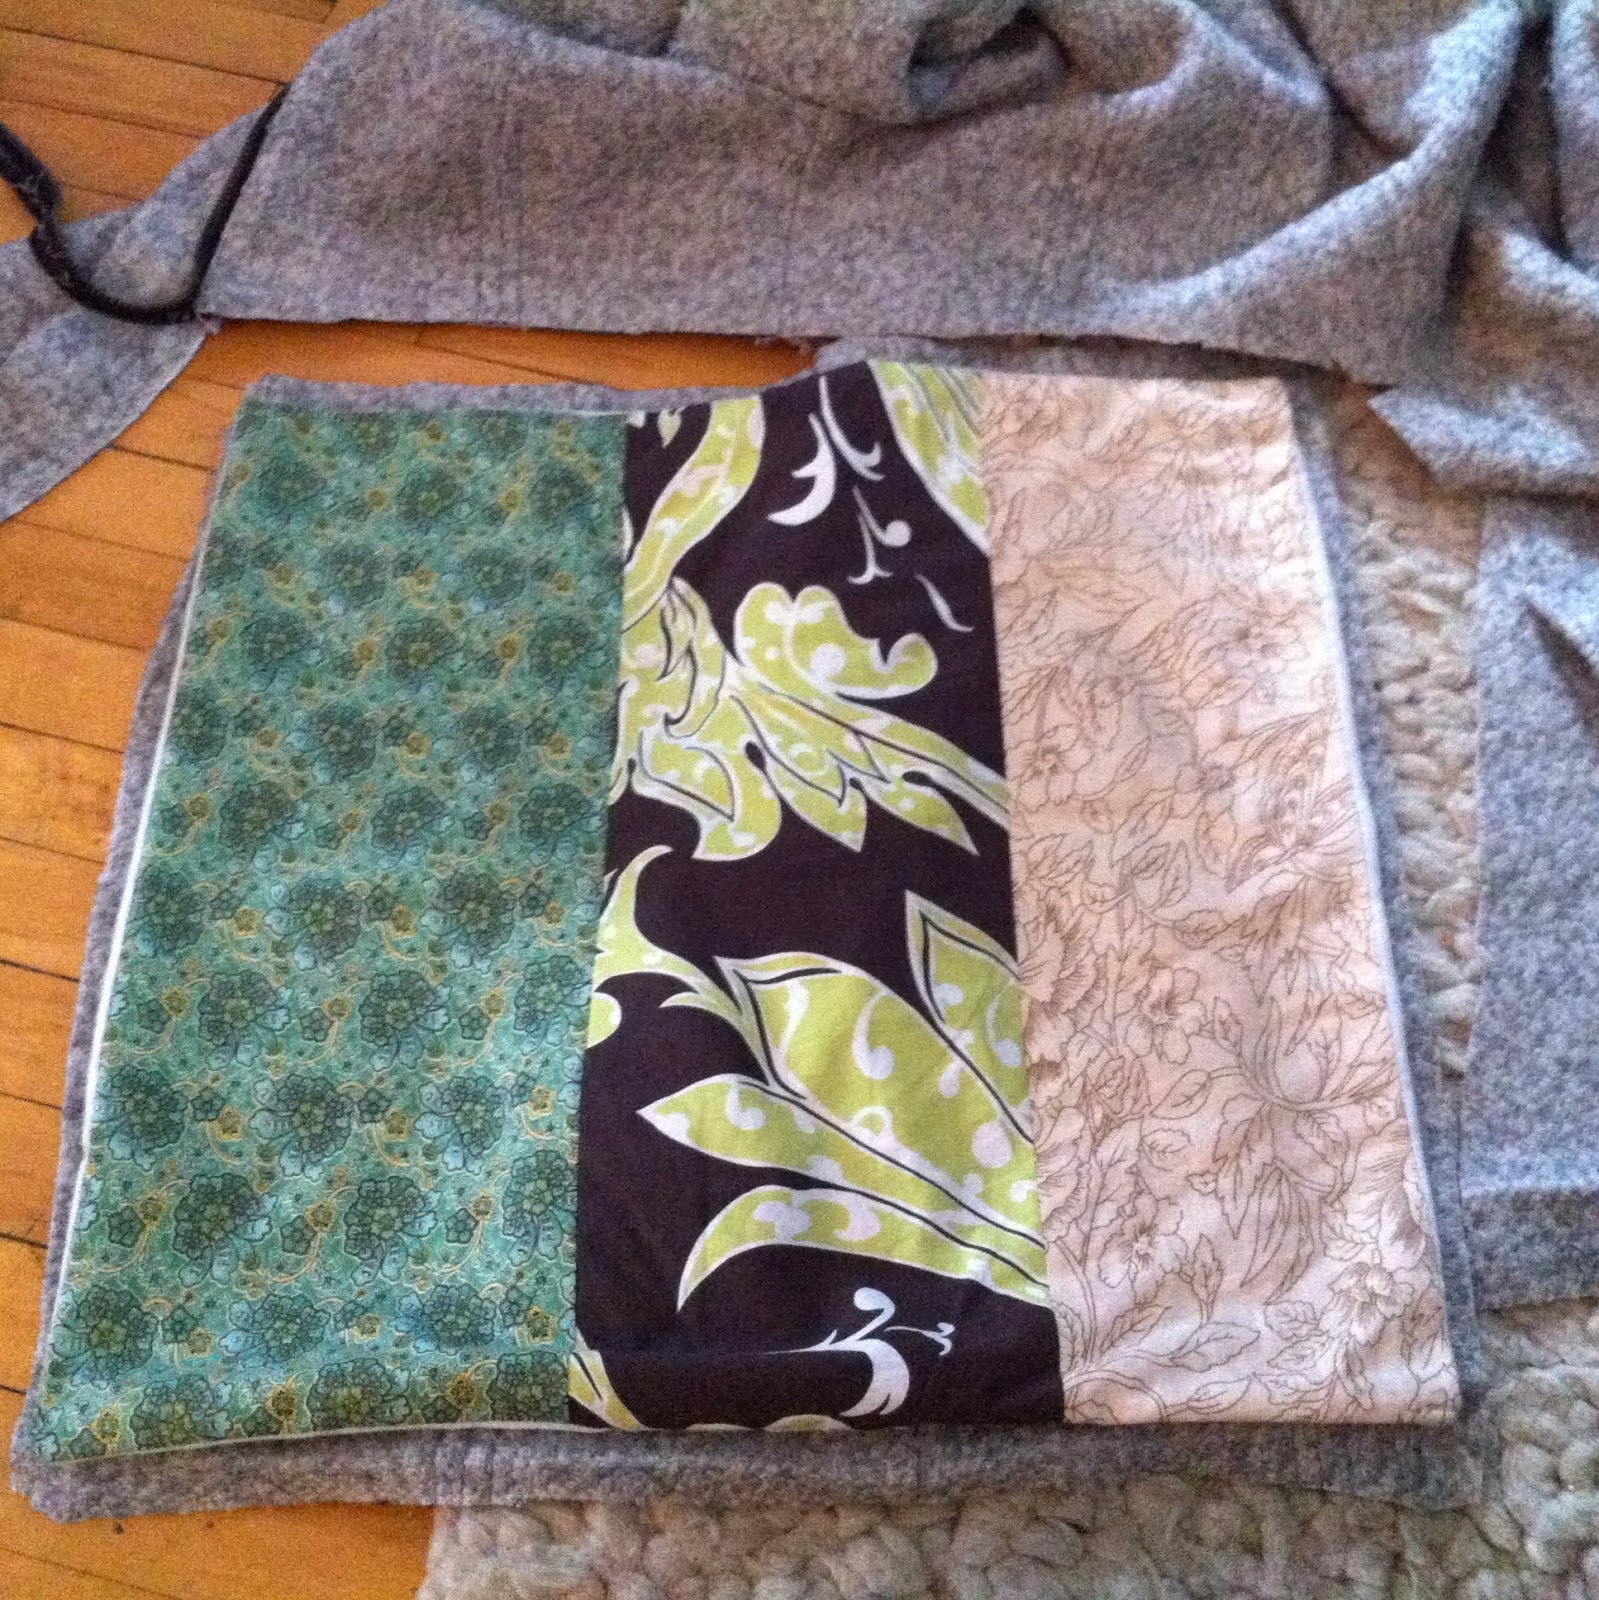
In the spirit of recycling what I have, I raided my clothing and fabric bins as well as the linen closet and couldn't find anything that fit the bill.
As a last resort I went down to our coat storage and came across the perfect fabric.
I wore this Zara coat postpartum 2 winters ago and pregnant last winter.
It has been stretched and pilled beyond recognition so I felt ok about tearing it apart.
Grey Zara jacket 2010
I started by ripping out the lining and removing part of the zipper.
Once I had a workable section of fabric I laid one of my old pillowcases down and cut with a 1/4 seam allowance.
I was able to get 2 pieces from this coat.
{Bailey enjoyed a nap in the hood while I worked.}

I really wanted 2 pillows so I needed another fabric for the back.
I had a bunch of plain white fabric {thanks Lori!} that was perfect.
I also wanted this to be easy and free.
 Read, not involve zippers and hemming.
I folded the white fabric selvages together and cut a piece that was double the length of the grey piece but the same width.
{Cedric helped.}

I folded this in half and cut along the fold so I was left with 4 pieces all with one selvage edge.
I then laid the grey piece down, right side up.
Laid one piece of white on top with a couple of inches hanging off the edge.

Laid the other piece on top of this with the opposite edge hanging off.
Make sure that the selvage edge is the one opposite from what is hanging over since this will be the edge not sewn into a seam.

I pinned around the edge of the grey piece then sewed with a 1/4" seam.
That's it!
Turn it inside out and stuff the pillow in.
Easy pillow cover
The last time I made this type of cover I didn't overlap the back as much.
It's easier to get the pillow in this way but I found the back gaped open a bit.
I'm really happy with the result.
I also go the husband seal of {comfort} approval.
Cost: $0.


Monday, November 19, 2012

Green Dress {But Not a Real Green Dress, That's Cruel}

A little CanCon for ya.
Love vintage BNL.

I have a perpetual donate pile of clothing in my attic.
Usually I can't get rid of it fast enough.
Then I read this post on Blue Collar Red Lipstick and decided to let the pile sit for a while.
This way you avoid that feeling of regret after the hasty purge {you know the one}.
I'm so glad I did this because I was able to rescue that pair of jeans I recycled last week.
This week I salvaged one of my t-shirts.
I liked the pattern on this shirt but it didn't flatter me at all.

This shirt had a wide neck {meant to be worn off the shoulder} so I had to start by gathering it.
I tied my ribbon around a tapered chopstick close enough to the top so that it couldn't slip off the end.
Recycled t-shirt to girls dress
Next I threaded the chopstick through the neck band.
For the shoulder seams I just did a little jump out and back in on the other side of the seam.


Recycled t-shirt to girls dress
After I went around the length I just pulled the ribbon out and tied the ends together so it wouldn't slip back in.
It would be better to use thin elastic then you wouldn't have to mess with tying it to fit each time.
I just used the ribbon because that's what I had on hand.
Recycled t-shirt to girls dress
Next I had Fiona put the shirt on so I could mark the fit.
I marked 4 spots in this order.
1.The arms hole size.  
2. The width at the hem. 
3. The width around her waist.
4. The point it should hit under her arms.
Recycled t-shirt to girls dress
Sewed 2 seams connecting these 4 points.
Recycled t-shirt to girls dress
 Cut about a cm seam allowance.
Recycled t-shirt to girls dress
Put it on her.
The hardest part of this project was getting the girl to stand still for a picture.
These are not the best pictures but it turned out really cute and comfy.
Total cost $0.
Recycled t-shirt to girls dress


Monday, November 12, 2012

Green Jeans

Not literally. 
Though coloured jeans are hot right now, they're not for me.

As I said in this post, I have been trying to recycle more lately.
Not like blue bag recycle but a more traditional kind.
This week I decided to take a pair of dated old flare jeans and turn them to skinnys.
In the past I would have thrown them in the donate pile and bought a new pair.
They're not the best jeans I've ever worn but they are exactly what I needed and cost me $0!

It was surprisingly easy.
I put the jeans on.
Marked the spot where they started to flare.
Measured how much they needed to be taken in at the ankle.
Took them off and turned them inside out.
Pinned the leg so they tapered to the measured spot at the bottom.
Sewed.
Cut off the excess a cm outside the seam.
Wore them.
These were cheap Gap denim a thin denim  so the new seam wasn't bulky which it might be if you were using a thicker pair.
Recycled skinny jeans

Tuesday, November 6, 2012

The Green Thing

On my second trip, one of the lovely volunteers packaged my items.
{By the way, this was done with more care for my $2.50 purchase than is usually done for purchases I've made for hundreds of dollars.}
She picked out a shoebox that was in really good shape.
"This would be a good box for wrapping gifts" she said.
I replied "perfect with Christmas coming".
Her eyes seemed to light up that I was on board.
"We call that recycling" she told me with a smile.
If it had been anyone else I would have thought she was mocking me.
She was, however, completely sincere.
It reminded me of a story I read {on Facebook I think}.
I searched for the story and couldn't find an original but did find this adaptation.

We do "the green thing".
We put our recyclables in the blue bag.
We started composting {and are horrible at it}.
We do cloth diapers.
I consider myself relatively "green".

The truth is though, there is so much more I can do.
Lately, I have been paying attention to how much we waste.
How much we buy on a whim that isn't needed.
How much we have that we don't use.

I am now making a conscious effort to reduce and reuse more.
Starting with:

Burps cloths to face cloths.
I have a ton of burp cloths.
My amazing friend Kim gave them to us when Fiona was born.
Thankfully we are now through the spitting up phase.
{Cedric was never really much of a spitter-upper.}
I do however need face cloths and lots of 'em.
We go through multiple each day for after meals and snacks.
I started using burp cloths to wipe faces and found they were too big.
This meant they stayed wet for a long time and started to smell.
I decided to take advantage of the serger I am returning today and went to work.
Each burp cloth yielded 4-6 face cloths.
Now we're all stocked up.
Cost $0.


LinkWithin

Related Posts Plugin for WordPress, Blogger...